Nothing beats the satisfaction of pulling a perfectly crispy, homemade pizza from your oven. But what if you could make that experience even better by using your sourdough discard? Not only will you create an exceptionally flavorful crust, but you’ll also reduce food waste in the process. As a home baker who’s experimented with countless pizza dough recipes, I can confidently say that sourdough discard pizza dough offers a unique combination of convenience and incredible taste.
Table of Contents
The Magic of Sourdough Discard in Pizza Making
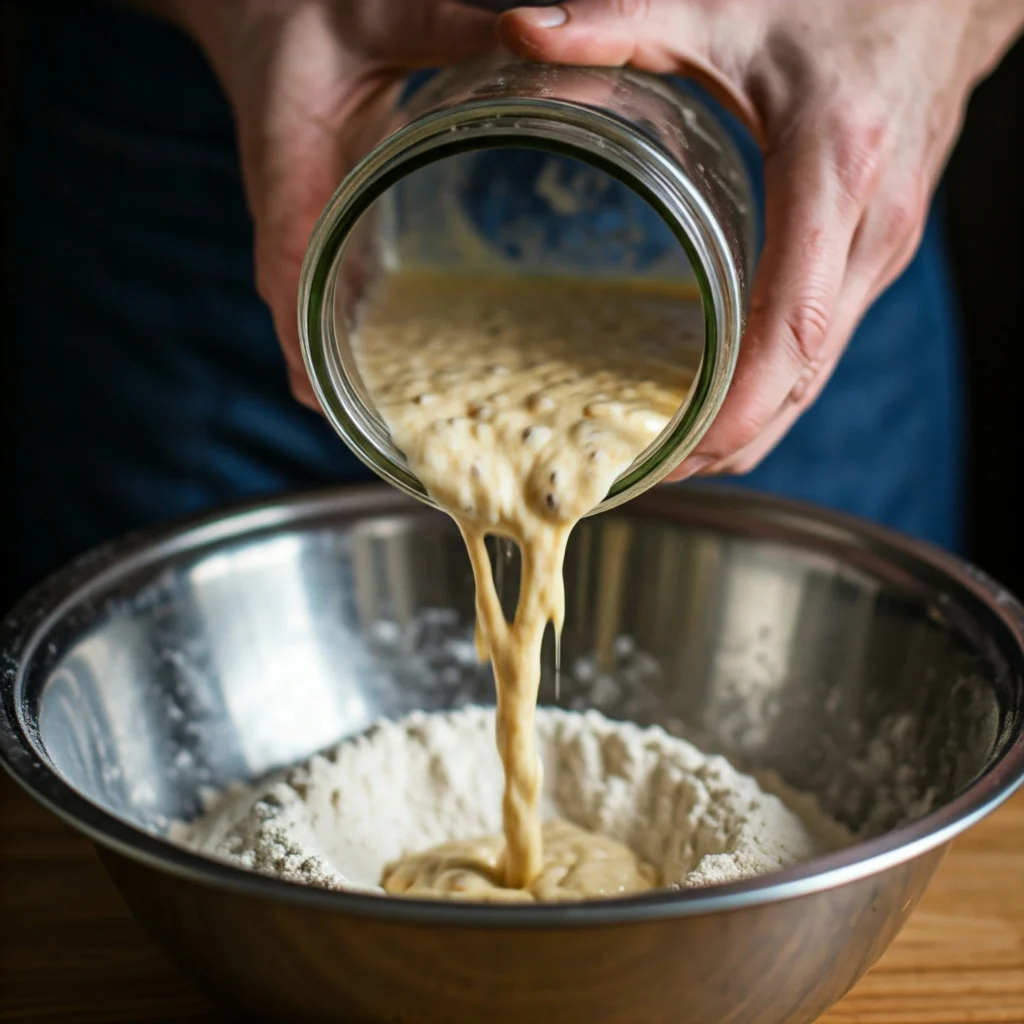
When maintaining a sourdough starter, you regularly remove a portion to feed it with fresh flour and water. This removed portion – the discard – is perfectly good to use and brings a subtle tang and complex flavor profile to your pizza dough. Besides the enhanced taste, using discard adds natural leavening power and creates a wonderfully chewy texture that’s difficult to achieve with conventional recipes.
The natural fermentation process not only creates complex flavors but also makes your pizza more digestible, as the study by PMC PubMed Central has shown that sourdough fermentation enhances nutrient bioavailability.
Why This Recipe Will Become Your Go-To
The beauty of this recipe lies in its flexibility and forgiving nature. Unlike traditional Neapolitan pizza dough, which requires precise timing and temperature control, sourdough discard pizza dough can adapt to your schedule. The natural fermentation process develops flavor even during a long refrigeration period, making it perfect for busy home cooks who want to prep ahead.
The secret to success lies in understanding a few key principles. First, the hydration level – we’re using a slightly lower hydration than typical sourdough bread to create a dough that’s easier to handle and shape. Second, the protein content of your flour matters. While bread flour is ideal for its higher protein content (creating that desirable chewy texture), all-purpose flour can work with slight adjustments to hydration.
Essential Ingredients and Their Roles
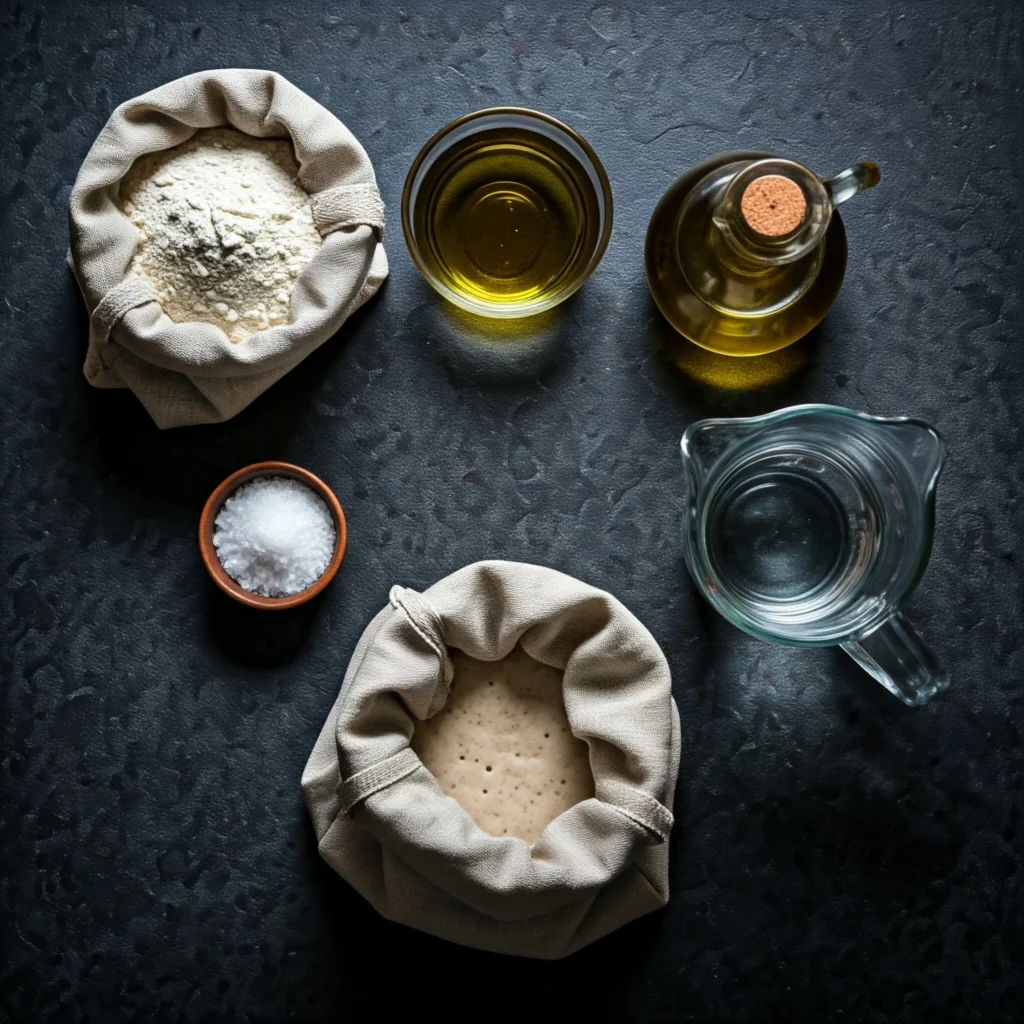
For the best results, gather these key ingredients:
Bread flour (12-14% protein): Creates a strong gluten network for optimal texture Active sourdough discard: Brings flavor and natural leavening Lukewarm water (95-100°F): Activates fermentation without stressing the yeast Fine sea salt: Enhances flavor and controls fermentation Olive oil: Improves extensibility and adds richness
The presence of mature sourdough discard affects both flavor and fermentation time. Using discard that’s been refrigerated for up to a week works perfectly fine – the cold storage actually develops more complex flavors while keeping the acid levels in check.
Step-by-Step Process
Begin by combining your room temperature discard with lukewarm water in a large bowl. This step ensures even distribution of the starter throughout the dough. Add bread flour and mix until no dry flour remains. Let this shaggy mixture rest for 30 minutes – this autolyse period allows the flour to fully hydrate and begins gluten development.
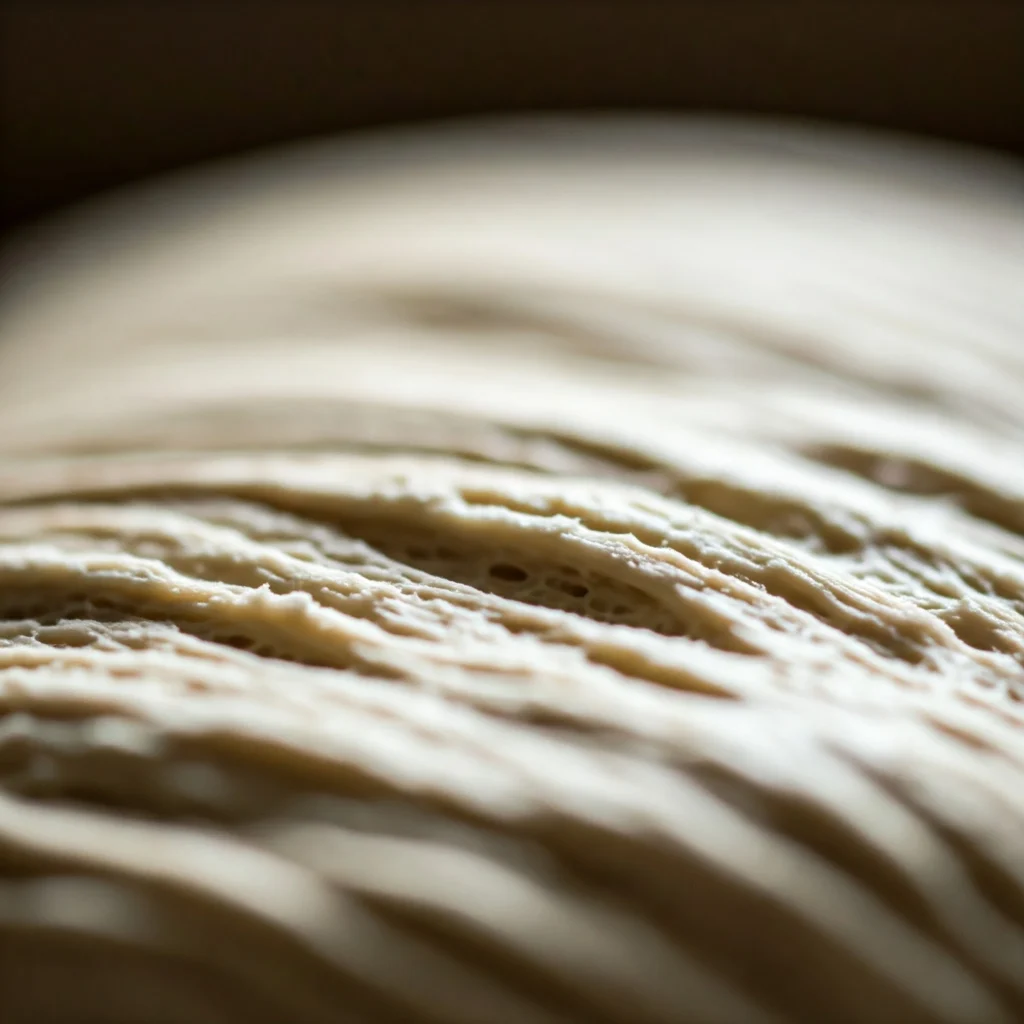
Next, add salt and olive oil, incorporating them thoroughly through a series of gentle folds. The dough will initially feel sticky but will become smoother and more cohesive as you work with it. Perform three sets of stretch and folds at 30-minute intervals, allowing the dough to rest and develop between each set.
After the final fold, let the dough bulk ferment at room temperature (68-72°F) for 4-6 hours, or until it has visibly expanded and shows small bubbles on the surface. The timing flexibility here is one of this recipe’s greatest strengths – you can adjust based on your schedule and kitchen temperature.

Sourdough Discard Pizza Dough Recipe
- Warm Water: 1 cup (240 ml)
- Sourdough Discard: ½ cup (about 113 grams) Everyday Homemade
- Granulated Sugar: 1 teaspoon
- Salt: 1 teaspoon Little Spoon Farm+5Everyday Homemade+5King Arthur Baking+5
- Olive Oil: 1 tablespoon
- Cornmeal: 1 tablespoon (optional, for texture)
- All-Purpose or Bread Flour: 2½ to 3 cups (300-360 grams)
- Instant Yeast: 1 teaspoon (optional, for faster rise)
Directions
- Mixing the Dough:In the bowl of a stand mixer, combine warm water and sourdough discard.Tastes of Lizzy T
Add sugar, salt, olive oil, cornmeal, and flour.Tastes of Lizzy T
If using instant yeast for a quicker rise, add it now.
Mix with the paddle attachment until just combined.Tastes of Lizzy T - Kneading:
Switch to the dough hook attachment and knead the dough for about 10 minutes until it becomes smooth and elastic. - First Rise:
Cover the bowl with plastic wrap or a damp cloth.
Let the dough rise in a warm place for approximately 30 minutes, or until it nearly doubles in size. - Shaping the Dough:
Divide the risen dough into desired portions, depending on the number and size of pizzas you plan to make.
On a lightly floured surface, shape each portion into a ball. - Final Proofing:
Place the dough balls on a floured surface or baking sheet.
Cover them and let them rest for about 20-30 minutes to relax the gluten, making them easier to stretch. - Preparing the Pizza Base:
Preheat your oven to the highest setting, typically around 500°F (260°C).
On a floured surface, stretch each dough ball into a thin circle or your preferred shape.
Transfer the stretched dough onto a pizza peel or baking sheet lined with parchment paper. - Adding Toppings and Baking:
Add your favorite sauces, cheeses, and toppings to the prepared dough.
Bake in the preheated oven for 10-12 minutes, or until the crust is golden and the cheese is bubbly and slightly browned. - Serving:
Remove the pizza from the oven and let it cool for a few minutes before slicing.
Enjoy your homemade sourdough discard pizza!
Shaping and Final Preparation
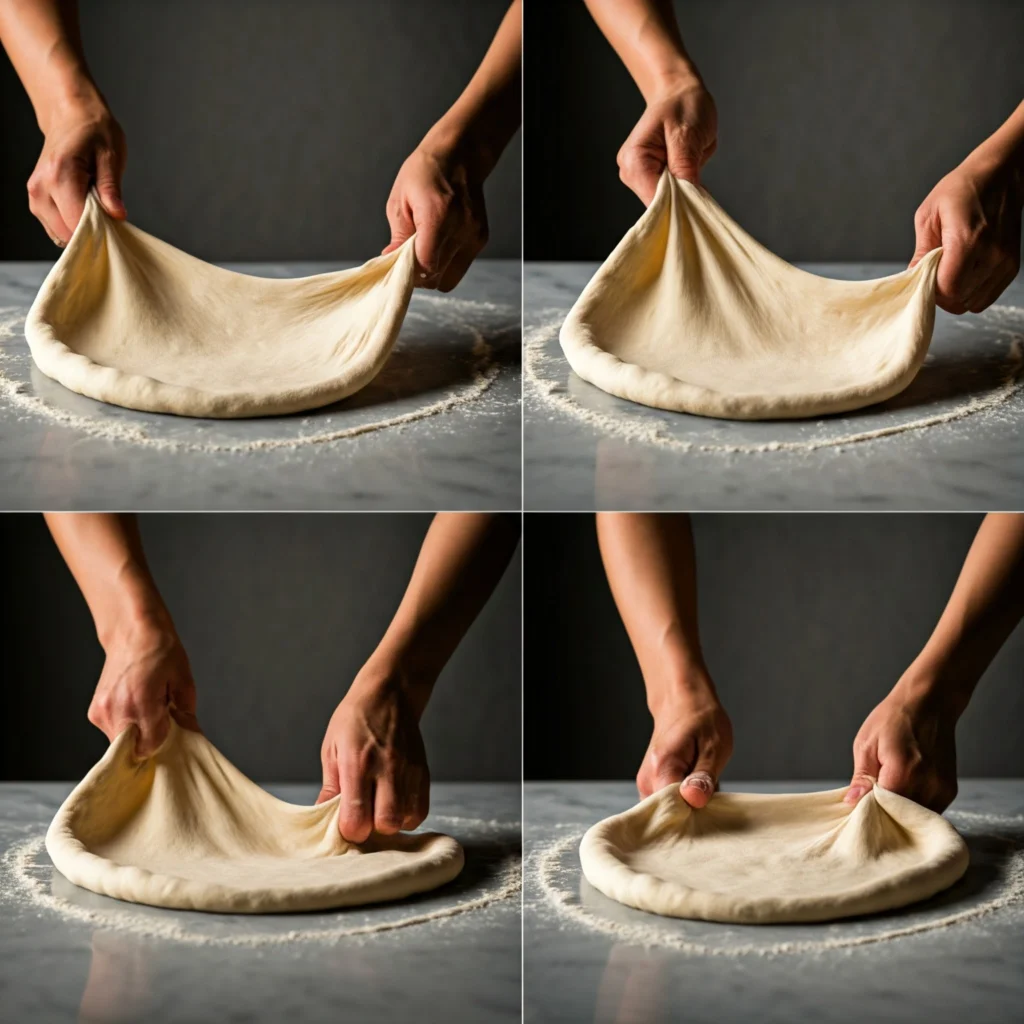
When ready to shape, divide the dough into individual portions (250g each for 12-inch pizzas). Shape each portion into a tight ball and let rest for 30 minutes before stretching. This crucial rest period allows the gluten to relax, making the dough easier to shape without tearing.
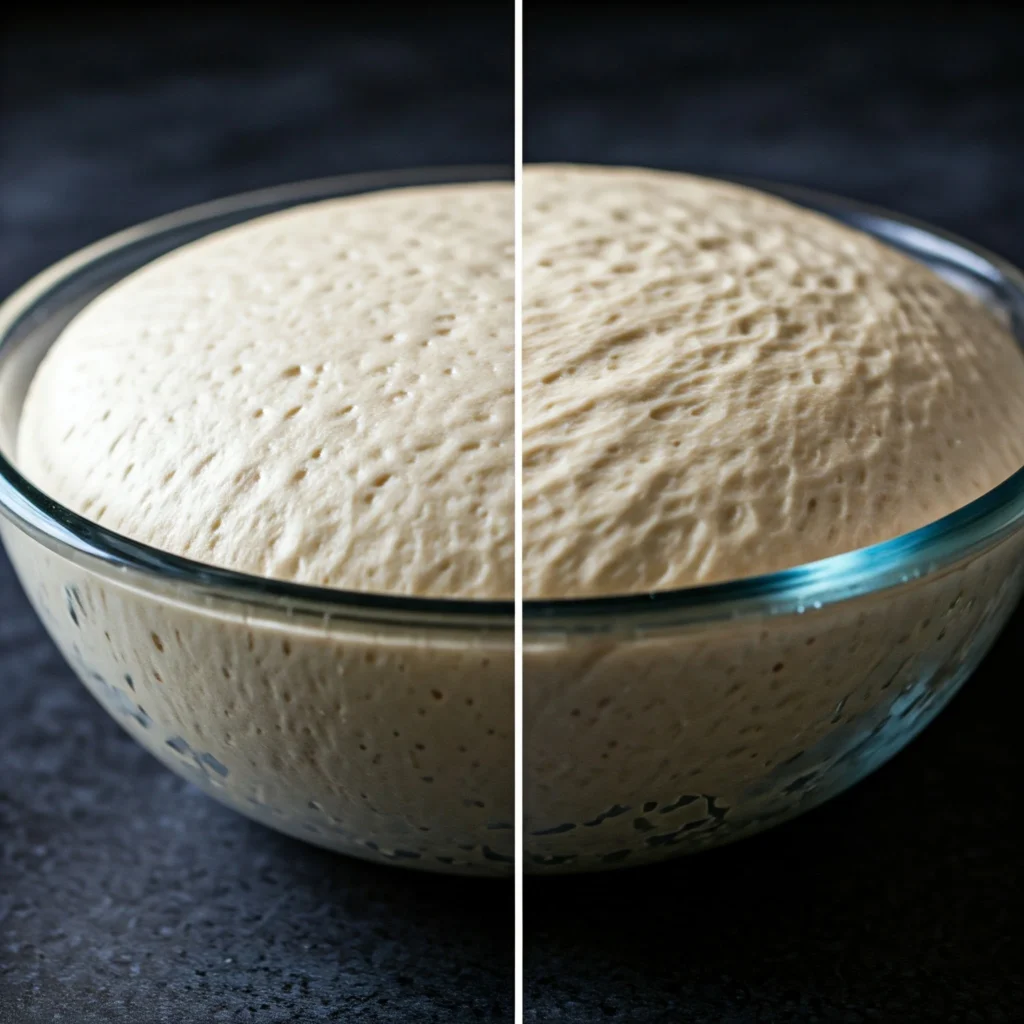
For the best results, stretch your dough on a well-floured surface using gentle, outward movements of your hands. Avoid using a rolling pin, as this can compress the carefully developed air pockets that contribute to texture and rise.
Storage and Make-Ahead Options
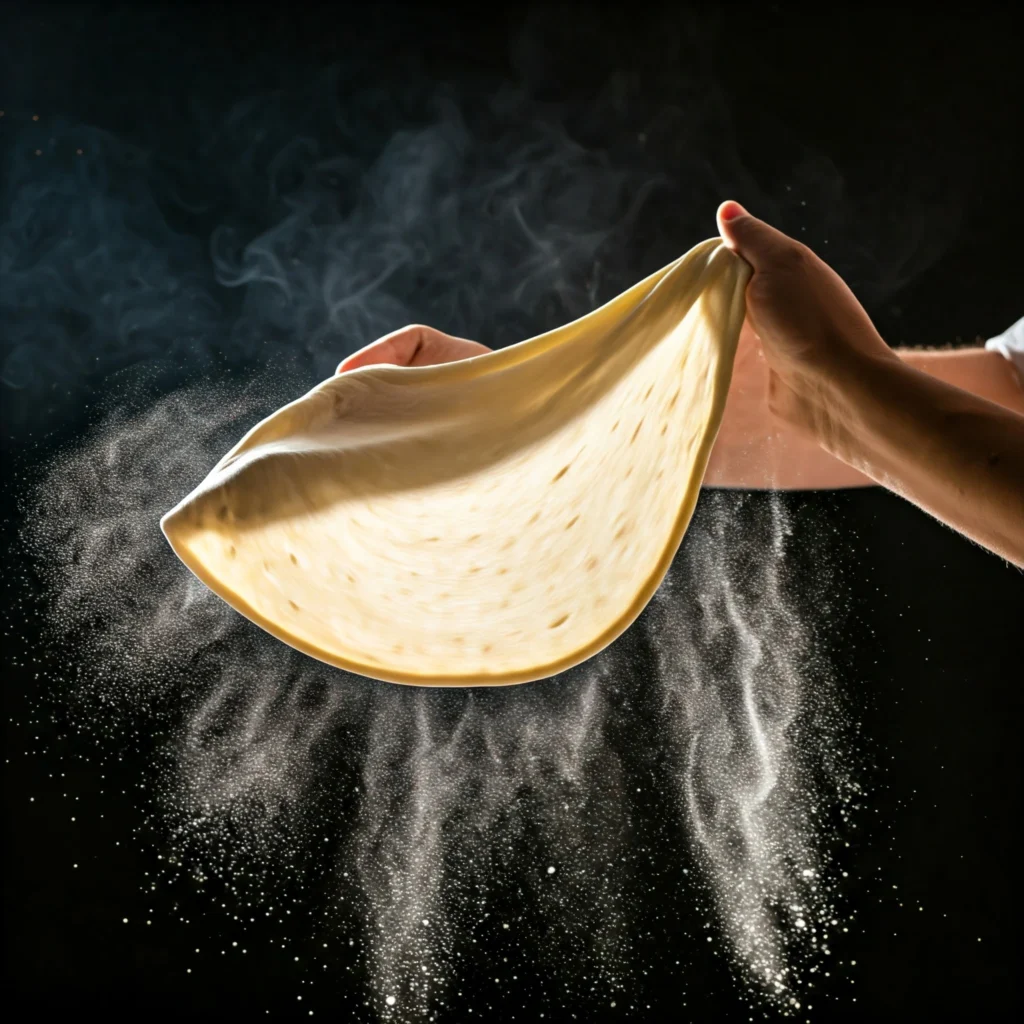
One of the best features of this dough is its versatility in storage. After bulk fermentation, you can refrigerate the dough for up to 72 hours. This cold fermentation not only fits your schedule but actually improves flavor development. When ready to use, simply remove the dough from the refrigerator 1-2 hours before shaping.
For longer storage, you can freeze individual dough balls for up to 3 months. Wrap them tightly in plastic wrap and place in freezer bags. Thaw overnight in the refrigerator before using.
Troubleshooting Common Issues

If your dough feels too sticky: Add flour gradually during handling, but avoid incorporating too much additional flour, as this can lead to a tough crust.
If the dough isn’t stretching easily: Let it rest longer at room temperature. Cold dough is always harder to shape.
If fermentation seems slow: Check your room temperature and consider placing the dough in a slightly warmer spot (75-78°F).
Your sourdough journey doesn’t have to result in discarding precious starter. By transforming your discard into pizza dough, you’re not only reducing waste but creating something truly special. The natural fermentation process brings depth of flavor and perfect texture to your homemade pizzas, while the flexible timeline makes this recipe practical for real-life schedules.
Remember, great pizza dough is both a science and an art. Don’t be afraid to experiment with fermentation times and hydration levels to find your perfect balance. With practice, you’ll develop an intuition for the dough that will serve you well in all your sourdough baking adventures.
Once you’ve mastered this sourdough pizza base, [discover our Ultimate Guide to Making Classic Marinara Sauce: Authentic, Simple, and Delicious that perfectly complements your artisan crust]
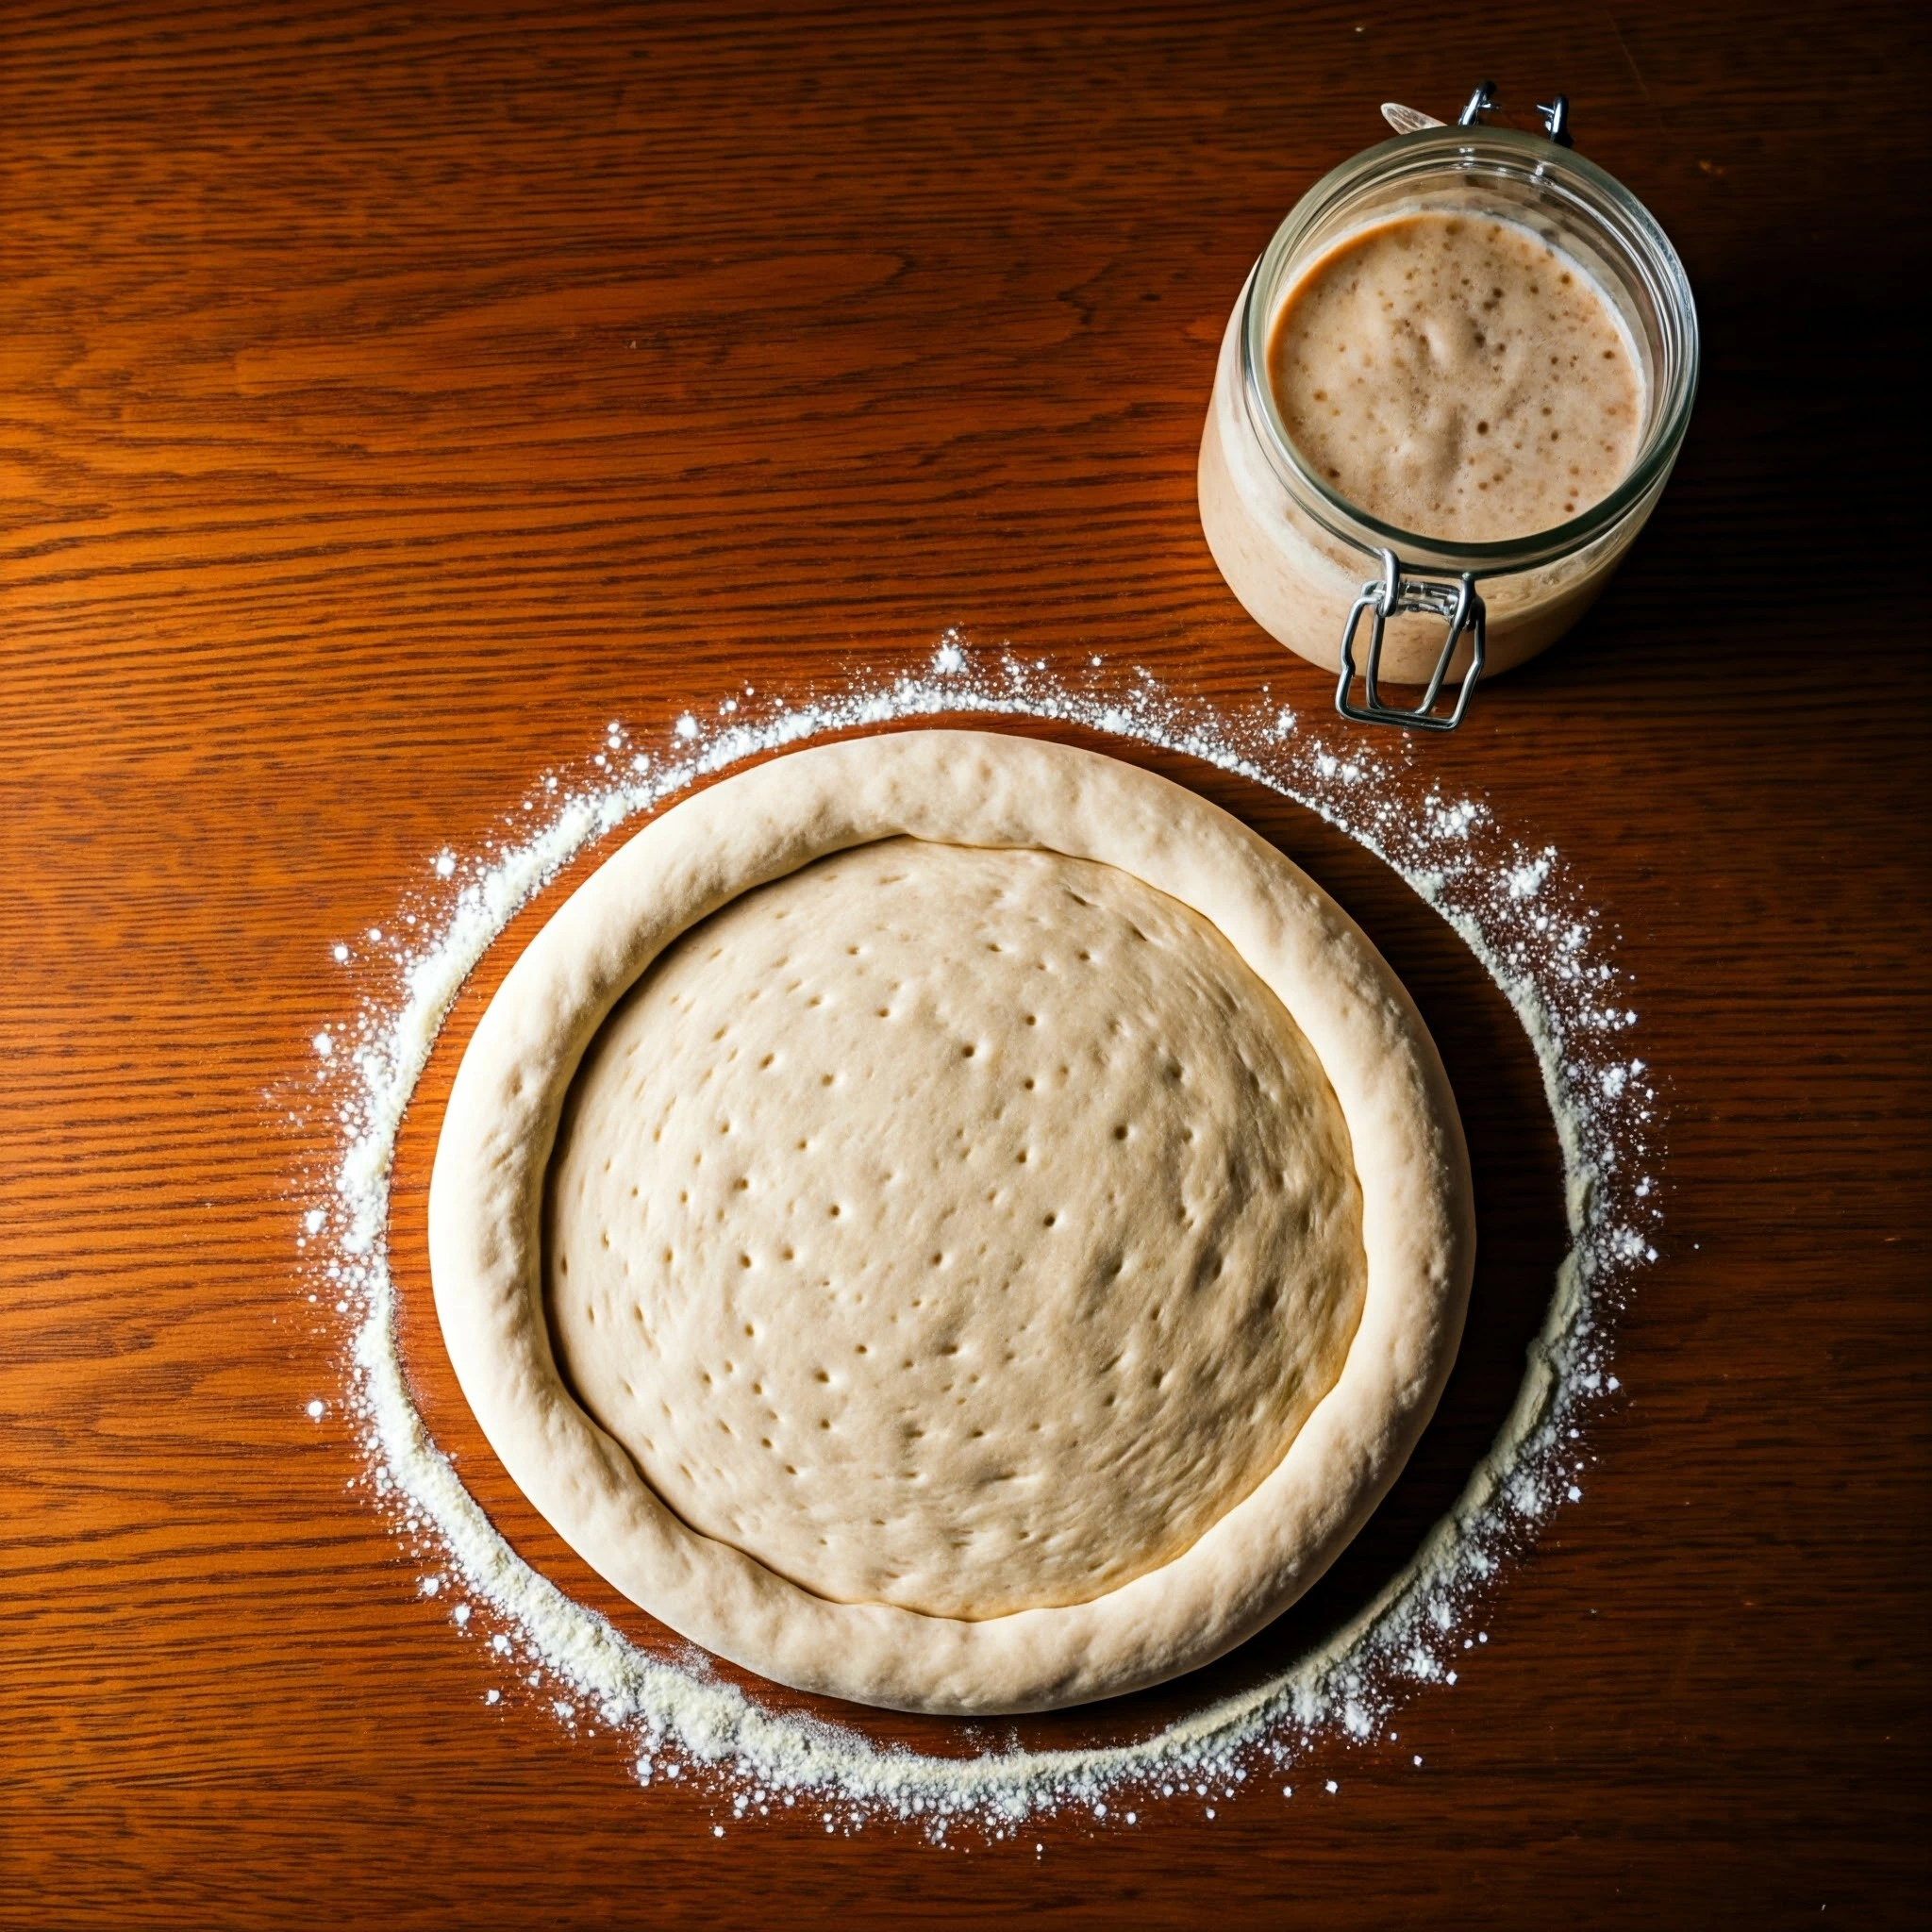
I don’t see an ingredient list with amounts. Am I overlooking it?
Hi Janet, Please look up in the article ”Sourdough Discard Pizza Dough Recipe” for detailed recipe.. Happy baking !